REAR SUSPENSION REAR UPPER ARM REMOVAL
CAUTION / NOTICE / HINT
The necessary procedures (adjustment, calibration, initialization, or registration) that must be performed after parts are removed and installed, or replaced during rear upper control arm assembly removal/installation are shown below.
| Replaced Part or Performed Procedure | Necessary Procedure | Effect/Inoperative Function when Necessary Procedure not Performed | Link |
|---|---|---|---|
|
*1: Also necessary after performing a tire rotation. *2: It is not necessary to perform this procedure if the tire pressure warning valve and transmitters are installed to the same location. *3: The vehicle height changes because of suspension or tire replacement. |
|||
for HV Model
Auxiliary battery terminal is disconnected/reconnected |
Reset back door close position | Power Back Door System | ( 202111,999999,_59,_111831,_0505274,RM100000001ZMEG,) 202111,999999,_59,_111831,_0505274,RM100000001ZMEG,)
|
| Rear wheel alignment adjustment | for HV Model
Perform "Calibration" |
·
DTCs are stored ·
ABS warning light illuminates ·
Brake system warning light (yellow indicator) illuminates ·
Slip indicator light illuminates ·
Electronically controlled brake system does not operate correctly |
(202203,999999,_54,_111814,_0500722,RM1000000022HHI,)
|
for Gasoline Model
Perform "Calibration" |
·
DTCs are stored ·
ABS warning light illuminates ·
Slip indicator light illuminates ·
Electronically controlled brake system does not operate correctly |
(202203,999999,_54,_111814,_0500728,RM1000000022HI0,)
|
|
| Tires | ·
Initialization*1*2 ·
Tire Position Identification*1*2 |
Tire Pressure Warning System | Refer to Procedures Necessary When Replacing Parts (for Tire Pressure Warning System)
( 202409,999999,_V1,_111780,_0504977,RM100000002OMBP,)
|
| Suspension parts*3 | Parking assist ECU initialization | Panoramic View Monitor System | (202409,999999,_56,_111825,_0500432,RM100000002O1F6,)
|
| Rear television camera assembly optical axis (Back camera position setting) | Parking Assist Monitor System | (202409,999999,_56,_111825,_0524148,RM100000002OUWG,)
|
|
| Gas leak from exhaust system is repaired | Perform Inspection After Repair | ·
Poor idle, etc. ·
Engine start function, etc. |
for M20C-FKS, M20D-FKS:
( 202303,999999,_51,_111785,_0504416,RM1000000029BFF,)
for A25D-FXS, A25F-FXS: ( 202303,999999,_51,_111794,_0505179,RM1000000029YT1,)
|
CAUTION / NOTICE / HINT
- CAUTION:
- ·
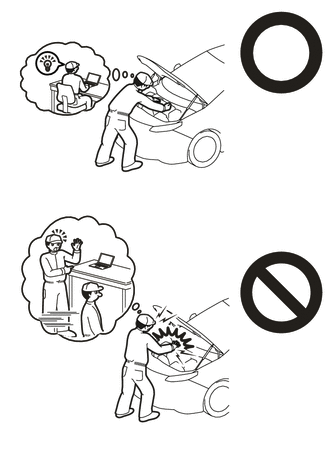
Orange wire harnesses and connectors indicate high-voltage circuits. To prevent electric shock, always follow the procedure described in the repair manual. (for HV Model AWD)
·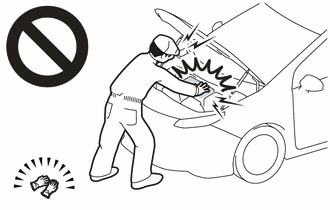
To prevent electric shock, wear insulated gloves when working on wire harnesses and components of the high voltage system. (for HV Model AWD)
·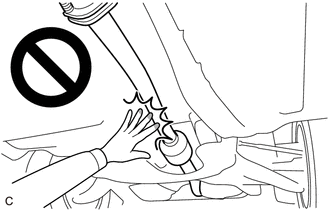
To prevent burns, do not touch the engine, exhaust pipe or other high temperature components while the engine is hot.
- HINT:
- for HV Model:
-
When the cable is disconnected / reconnected to the auxiliary battery terminal, systems temporarily stop operating. However, each system has a function that completes learning the first time the system is used.
Learning completes when vehicle is driven Effect/Inoperative Function when Necessary Procedure not Performed Necessary Procedure Link Lane Tracing Assist System Drive the vehicle straight ahead at 35 km/h (22 mph) or more for 5 second or more. ( 202111,999999,_95,_111850,_0502173,RM100000001Z92I,)
Pre-collision System
Learning completes when vehicle is operated normally Effect/Inoperative Function when Necessary Procedure not Performed Necessary Procedure Link Power Door Lock Control System
·Back door opener
Perform door unlock operation with door control switch or electrical key transmitter sub-assembly switch. ( 202111,999999,_58,_111830,_0505351,RM100000001ZMT3,)
Air Conditioning System After the ignition switch is turned to ON, the servo motor standard position is recognized. -
PROCEDURE

 51206A
1.REMOVE REAR SUSPENSION MEMBER SUB-ASSEMBLY
51206A
1.REMOVE REAR SUSPENSION MEMBER SUB-ASSEMBLY
for 2WD: Click hereSuspension>REAR SUSPENSION>REAR SUSPENSION MEMBER (for 2WD)>REMOVAL202409,999999,_53,_111811,_0501209,RM100000002OMQQ,
for HV Model AWD: Click hereSuspension>REAR SUSPENSION>REAR SUSPENSION MEMBER (for HV Model AWD)>REMOVAL202409,999999,_53,_111811,_0501335,RM100000002OMQB,
for Gasoline Model AWD: Click hereSuspension>REAR SUSPENSION>REAR SUSPENSION MEMBER (for Gasoline Model AWD)>REMOVAL202409,999999,_53,_111811,_0525476,RM100000002OMQG,
48790
2.REMOVE REAR UPPER CONTROL ARM ASSEMBLY LH
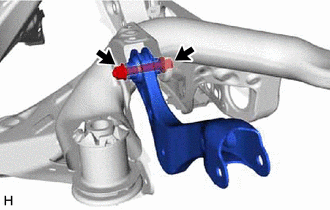
Remove the bolt, nut and rear upper control arm assembly LH from the rear suspension member sub-assembly.
- NOTICE:
-
Because the nut has its own stopper, do not turn the nut. Loosen the bolt with the nut secured.
48770A
3.REMOVE REAR UPPER CONTROL ARM ASSEMBLY RH
- HINT:
-
Perform the same procedure as for the LH side.