WINDOW / GLASS BACK DOOR GLASS REMOVAL
PROCEDURE

 85110R
1.REMOVE REAR WIPER MOTOR ASSEMBLY
85110R
1.REMOVE REAR WIPER MOTOR ASSEMBLY
76085
2.REMOVE REAR SPOILER SUB-ASSEMBLY
3.REMOVE REAR LIGHT ASSEMBLY LH
4.REMOVE REAR LIGHT ASSEMBLY RH
- HINT:
-
Use the same procedure described for the LH side.
867C0
5.REMOVE INNER MIRROR CAMERA ASSEMBLY (w/ Digital Inner Mirror)
68131
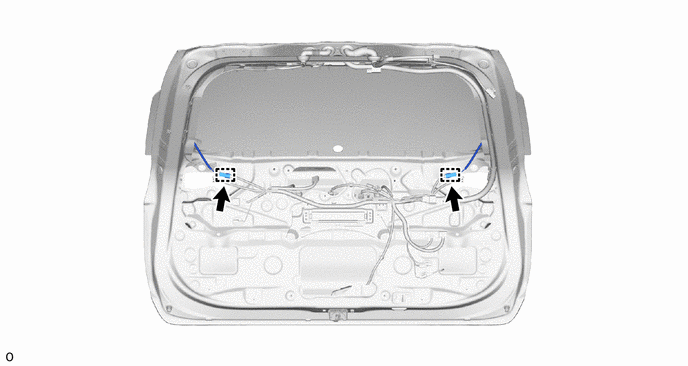
6.REMOVE BACK DOOR GLASS
Disconnect the 2 connectors.

|
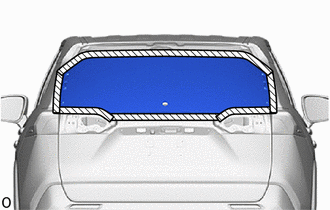
Protective Tape |
Apply protective tape to the outer surface of the vehicle body to prevent scratches.
- NOTICE:
-
When separating the back door glass from the vehicle, be careful not to damage the vehicle paint or interior/exterior ornaments.
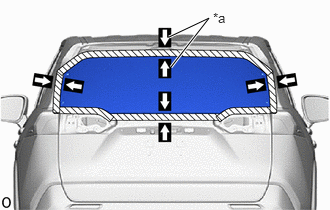
| *a | Matchmark |
When reusing the back door glass:
Place matchmarks over the glass and vehicle body at the locations indicated in the illustration.
Install the suction cups to the back door glass.
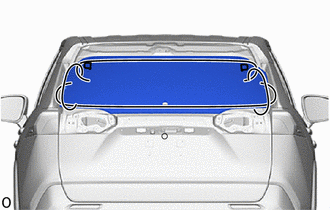
| *1 | No. 2 Back Door Glass Spacer |
| *2 | No. 1 Back Door Glass Spacer |
| *a | Piano Wire |
From the interior, insert a piano wire between the vehicle body and glass as shown in the illustration.
Tie objects that can serve as handles (for example, wooden blocks) to both wire ends.
- NOTICE:
-
When separating the glass from the vehicle, be careful not to damage the vehicle paint or interior/exterior ornaments.
Cut through the adhesive by pulling the piano wire around the back door glass.
- NOTICE:
-
When working near the No. 6 antenna cord sub-assembly, be careful not to damage it with the piano wire.
Using suction cups, disconnect the No. 1 back door glass spacer and No. 2 back window glass spacer and remove the back door glass.
- NOTICE:
-
Do not drop the back door glass.