REAR SUSPENSION REAR LEAF SPRING REMOVAL
CAUTION / NOTICE / HINT
The necessary procedures (adjustment, calibration, initialization, or registration) that must be performed after parts are removed, installed, or replaced during the rear leaf spring assembly removal/installation are shown below.
- Necessary Procedure After Parts Removed/Installed/Replaced:
Replacement Part or Procedure Necessary Procedures Effects/Inoperative when not Performed Link Suspension, tires, etc Television camera assembly optical axis (Back camera position setting) Parking assist monitor system (  201902,202310,_56,_079315,_0385736,RM100000001GNRB,202310,999999,_56,_079315,_0385736,RM100000002G5JM,)
- HINT:
- ·
Use the same procedure for the RH side and LH side.
·The following procedure is for the LH side.
PROCEDURE

 1.REMOVE REAR WHEEL
2.REMOVE SPARE TIRE (for LH Side)
46430
3.DISCONNECT NO. 2 PARKING BRAKE CABLE ASSEMBLY (for RH Side)
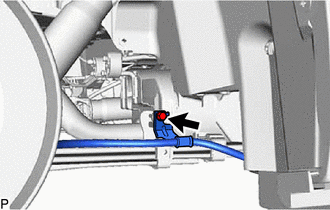
Remove the bolt and disconnect the No. 2 parking brake cable assembly from the rear leaf spring assembly.
48540
4.REMOVE REAR SHOCK ABSORBER ASSEMBLY
48047A
5.REMOVE REAR SPRING U BOLT
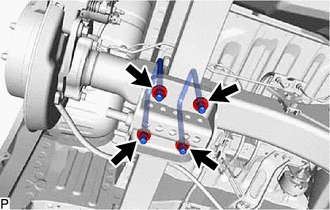
Remove the 4 nuts, 4 washers, 2 rear spring U bolts and rear spring U bolt seat.
48220
6.REMOVE REAR LEAF SPRING ASSEMBLY
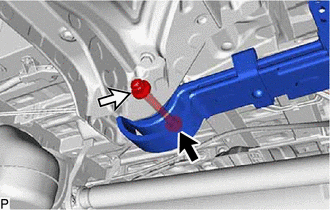
Remove the nut, washer and bolt.
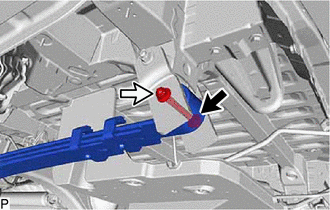
Remove the nut, bolt and rear leaf spring assembly from the vehicle body.
- NOTICE:
-
Move the spare wheel carrier assembly to a position where it does not contact the bolt. (for LH Side)
48442
7.REMOVE NO. 2 SPRING SHACKLE
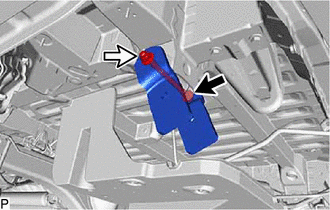
Remove the nut, bolt and 2 No. 2 spring shackles.
- NOTICE:
-
Move the spare wheel carrier assembly to a position where it does not contact the bolt. (for LH Side)
8.REMOVE SPRING SHACKLE BUSH
Using a screwdriver, remove the 2 spring shackle bushes from the vehicle body.
- HINT:
-
Tape the screwdriver tip before use.
48802E
9.REMOVE REAR STABILIZER BAR SPACER
Using a screwdriver, remove the rear stabilizer bar spacer from the spring shackle bush.
- HINT:
-
Tape the screwdriver tip before use.
48341B
10.REMOVE REAR NO. 1 SPRING BUMPER
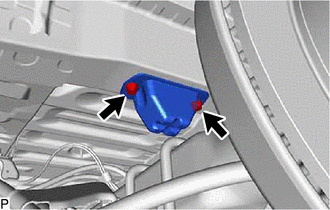
Remove the 2 bolts and rear No. 1 spring bumper from the vehicle body.