DOOR / HATCH BACK DOOR WEATHERSTRIP INSTALLATION
PROCEDURE

 67881A
1.INSTALL BACK DOOR WEATHERSTRIP
67881A
1.INSTALL BACK DOOR WEATHERSTRIP
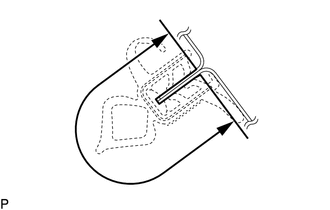
Make sure to remove any non-drying sealant from the vehicle body.
- NOTICE:
-
If there is any non-drying sealant remaining on the vehicle body, the back door weatherstrip may not be able to be securely installed and may fall off. Make sure to completely remove the non-drying sealant from both the interior side and exterior side installation surfaces on the vehicle body.
Align the joint of a new back door weatherstrip with the back door lock striker and temporarily install the back door weatherstrip.
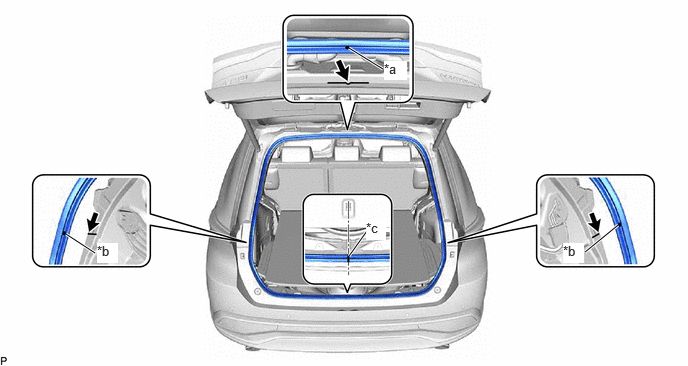
| *a | Alignment mark (Pink) | *b | Alignment mark (Light blue) |
| *c | Joint | - | - |

|
Flange Position | - | - |
Align the paint marks on the back door weatherstrip with the flange on the vehicle body indicated by the arrow, and install the back door weatherstrip.
- NOTICE:
- ·
Make sure to position the paint mark correctly during installation. Failure to do so may lead to water ingress.
·After installation, check that the corners fit correctly.
- HINT:
-
Make sure to install the parts of the back door weatherstrip near the joint and paint mark shown in the illustration first, and then install the corners.