BRAKE SYSTEM (OTHER) VACUUM PUMP(for M20D-FKS) DISASSEMBLY
CAUTION / NOTICE / HINT
- HINT:
-
Refer to the following illustration and check which type is installed to the vehicle.
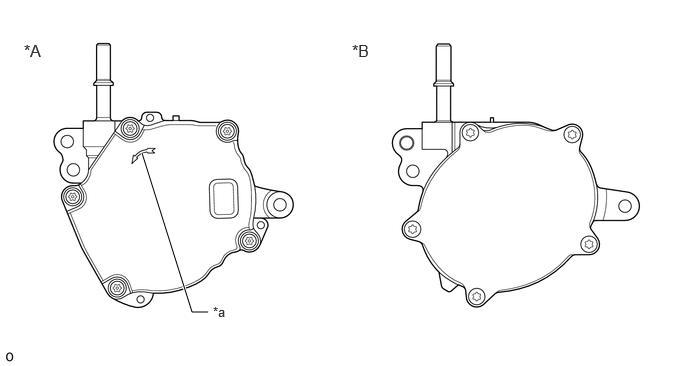 2.167,3.25 2,3.25 2,3.25 1.479,1.594 true 0.25,0.427 0.625,0.667 0.375,0.24 12 false *A 3.667,0.427 4.042,0.667 0.375,0.24 12 false *B 2.219,3.167 2.531,3.365 0.313,0.198 10 false *a
*A for BOSCH Made *B except BOSCH Made *a Mark - -
PROCEDURE

 29314A
1.REMOVE END COVER (except BOSCH Made)
29314A
1.REMOVE END COVER (except BOSCH Made)
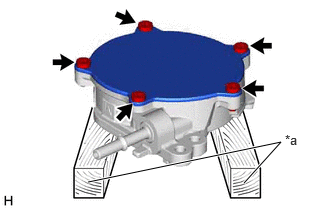
| *a | Wooden Block |
To prevent the coupling of the vacuum pump assembly from contacting the workbench, support the vacuum pump assembly with wooden blocks or an equivalent object.
Using a T30 "TORX" socket wrench, remove the 5 screws and end cover.
- NOTICE:
- ·
Hold the pump so that the pump installation surface and fitting parts will not be damaged.
·As the housing deforms when force is applied, do not secure the housing with a tool such as a vise.
·Securely fit the T30 "TORX" socket wrench to the screws.
·Do not drop the end cover.
·Do not damage the end cover.
·As there will be a small amount of oil remaining in the vacuum pump housing, be careful not to spill the oil when removing the end cover.
·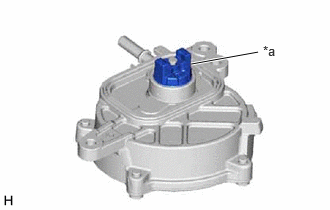 1.99,0.667 2.688,0.542 true 2.74,0.448 3.073,0.854 0.333,0.406 10 false *a
*a Do not rotate the coupling.
Do not rotate the coupling as oil remaining in the vacuum pump housing may be discharged.
·As the vacuum pump vane cap may become damaged, do not rotate the coupling counterclockwise.
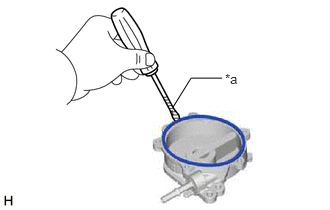
| *a | Protective Tape |
Using a screwdriver with its tip wrapped with protective tape, remove the vacuum pump cover O-ring.
- NOTICE:
-
Do not damage the groove.
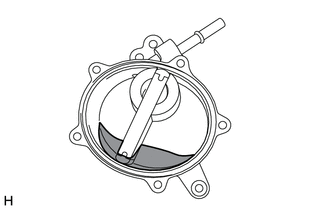

|
Engine Oil |
Check that there is no foreign matter in the engine oil remaining in the vacuum pump housing.
If there is foreign matter, replace the vacuum pump assembly.
2.REMOVE VACUUM PUMP VANE AND VACUUM PUMP VANE CAP (except BOSCH Made)
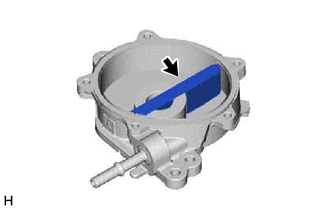
Remove the vacuum pump vane together with the 2 vacuum pump vane caps.
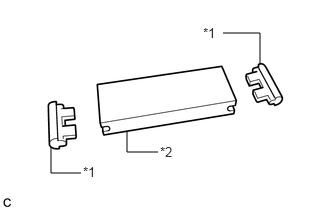
| *1 | Vacuum Pump Vane Cap |
| *2 | Vacuum Pump Vane |
Remove the 2 vacuum pump vane caps from the vacuum pump vane.
Check that there is no damage such as cracks or fractures in the vacuum pump vane and vacuum pump vane cap.
If there is damage, replace the vacuum pump assembly.
3.REMOVE VACUUM PUMP ROTOR (except BOSCH Made)
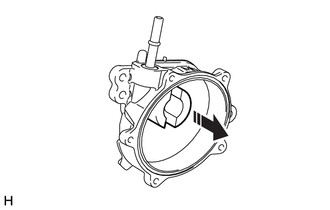

|
Remove in this Direction |
Remove the vacuum pump rotor from the vacuum pump housing.
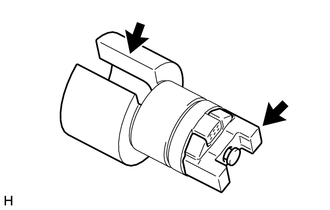
Check that there is no damage such as cracks or fractures in the vacuum pump rotor in the areas shown in the illustration.
If there is damage, replace the vacuum pump assembly.
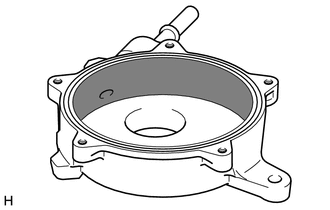
4.INSPECT VACUUM PUMP HOUSING (except BOSCH Made)
|
|
Contact Surface of Vacuum Pump Vane Cap |
Check that there is no foreign matter in the vacuum pump housing.
If there is foreign matter, replace the vacuum pump assembly.
Visually inspect the contact surface of the vacuum pump vane cap of the vacuum pump housing.
If there is damage, replace the vacuum pump assembly.