NAVIGATION / MULTI INFO DISPLAY NAVIGATION SYSTEM(for Gasoline Model with RST Switch) OPERATION CHECK
CHECK NAVIGATION SYSTEM NORMAL CONDITION
If the symptom is applicable to any of the following, it is intended behavior, and not a malfunction.
| Symptom | Answer |
|---|---|
| A longer route than expected is chosen. | Depending on the road conditions, the navigation receiver assembly may determine that a longer route is quicker. |
| Even when distance priority is high, the shortest route is not shown. | Some routes may not be advised due to safety concerns. |
| When the vehicle is put into motion immediately after the engine starts, the navigation system deviates from the correct position. | If the vehicle starts before the navigation system activates, the system may not react. |
| When driving on certain types of roads, especially new roads, the vehicle position deviates from the correct position. | When the vehicle is driving on new roads not available on the internal memory, the system attempts to match it to another nearby road, causing the position mark to deviate. |
| Expected arrival time is earlier than current time, or time different from expected arrival time is displayed. | If a location on the sea is set as the destination, the system may display an expected arrival time corresponding to the time zone setting of the vehicle. Check which communication is not used for displaying traffic information. |
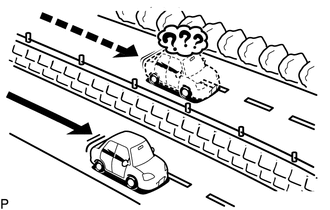
The following symptoms are not malfunctions, but are caused by errors inherent in the GPS, gyro sensor or navigation receiver assembly.
The current position mark may be displayed on a nearby parallel road.
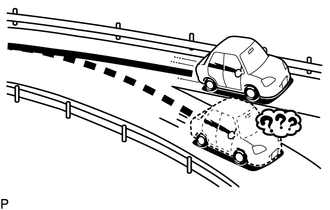
Immediately after a fork in the road, the current vehicle position mark may be displayed on the wrong road.
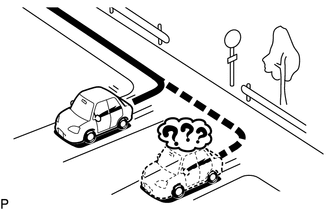
When the vehicle turns right or left at an intersection, the current vehicle position mark may be displayed on a nearby parallel road.
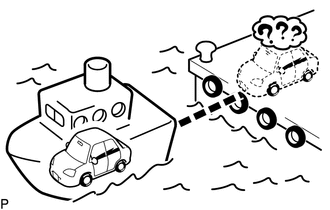
When the vehicle is carried, such as on a ferry, and the vehicle itself is not driving, the current vehicle position mark may be displayed in the position where the vehicle was until a measurement can be performed by the GPS.
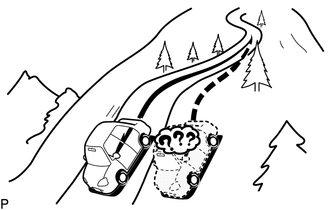
When the vehicle travels on a steep hill, the current vehicle position mark may deviate from the correct position.
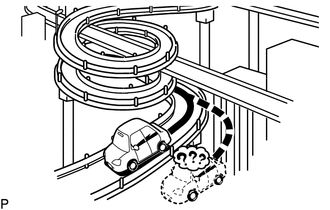
When the vehicle makes a continuous turn (e.g. 360, 720, 1080 degrees), the current vehicle position mark may deviate from the correct position.
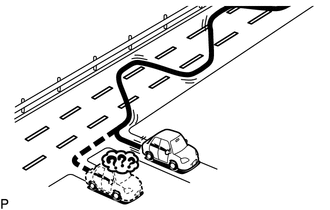
When the vehicle moves erratically, such as constant lane changes, the current vehicle position mark may deviate from the correct position.
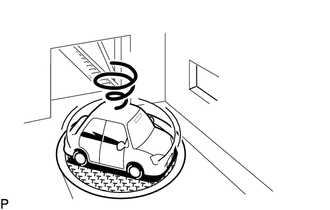
When the engine switch is turned on (ACC) or on (IG) and the vehicle is turned on a turntable before parking, the current vehicle position mark may not indicate the correct direction. The same will occur when the vehicle comes out of the parking garage.
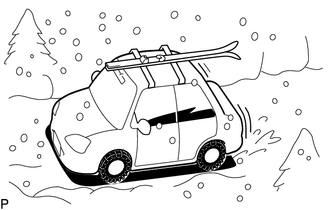
When the vehicle travels on a snowy road or a mountain path with tire chains installed or using a spare tire, the current vehicle position mark may deviate from the correct position.
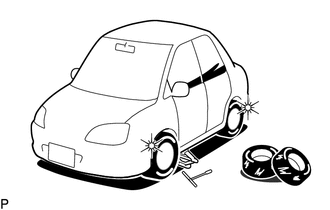
When the tires are changed, the current vehicle position mark may deviate from the correct position.
- HINT:
- ·
A change in tire diameter may cause a speed sensor error.
·Performing "tire change" in calibration mode will allow the system to correct the current vehicle position faster.
START DIAGNOSTIC MODE
- HINT:
- ·
Illustrations may differ from the actual vehicle screen depending on the device settings and options. Therefore, some detailed areas may not be shown exactly the same as on the actual vehicle screen.
·After the engine switch is turned on (IG), check that the map is displayed before starting diagnostic mode. Otherwise, some items cannot be checked.
Turn the engine switch on (IG).
Wait 5 seconds or more after the menu screen is displayed.
Operate the steering pad switch as follows: Seek- → Seek+ → Seek- → Seek+ → Seek- → Seek+
Press and hold the Voice button for 3 seconds or more.
Diagnostic mode will start and the "Diag Mode" screen will be displayed.
CHECK VEHICLE SIGNAL
- HINT:
- ·
Vehicle signals received by the navigation receiver assembly are checked in the following procedure.
·Illustrations may differ from the actual vehicle screen depending on the device settings and options. Therefore, some detailed areas may not be shown exactly the same as on the actual vehicle screen.
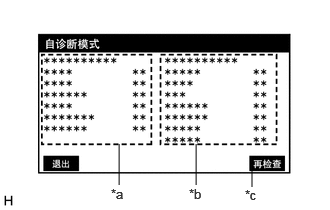
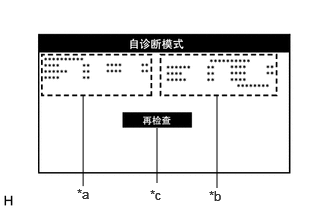
Diag mode screen description
| Display | Content |
|---|---|
| *a | Displays the inside module diagnosis results. |
| *b | Displays the connection condition of various devices. |
| *c | Select to perform the diagnostic check again. |
| Name | Component |
|---|---|
| Camera | Rear television camera assembly |
| AUX | No. 1 stereo jack adapter assembly |
| Mic | Map light assembly (telephone microphone assembly) |
| CAN | CAN communication system |
| DCM | Telematics transceiver |
| GbookID | Telematics transceiver |
- HINT:
- ·
If OK is displayed for every item in *a, the navigation receiver assembly is normal. If NG is displayed, replace the navigation receiver assembly.
·If NG is displayed for "CAN" in *b, inspect the CAN communication system.
·The results for all items will be displayed approximately 5 seconds after entering the self-diagnosis mode.
FINISH DIAGNOSTIC MODE
Turn the engine switch off.