MAINTENANCE REAR DRUM BRAKE SHOE REMOVAL
CAUTION / NOTICE / HINT
- NOTICE:
- ·
Immediately after installing the brake shoes, the braking performance may be reduced. Always perform a road test in a safe place while paying attention to the surroundings.
·After replacing the brake shoes, always perform a road test to check the braking performance and check for vibrations.
- HINT:
- ·
Use the same procedure for the RH side and LH side.
·The following procedure is for the LH side.
PROCEDURE

 1.REMOVE REAR WHEEL
42431D
2.REMOVE BRAKE DRUM
04495
3.REMOVE REAR BRAKE SHOE KIT
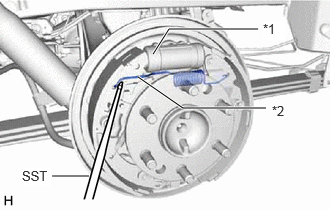
| *1 | Wheel Cylinder Boot |
| *2 | Tension Spring |
Using SST, separate the tension spring from the brake shoe (front).
- SST
- 09921-00011
- NOTICE:
-
Do not damage the wheel cylinder boot.
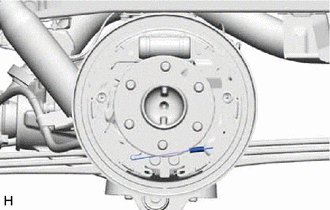
Remove the tension spring.
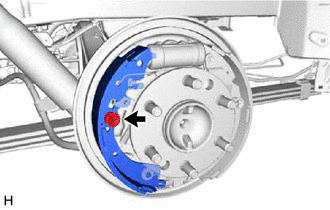
Remove the shoe hold down spring cup, shoe hold down spring, shoe hold down spring pin and brake shoe (front).
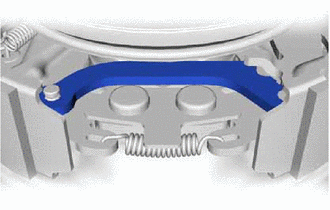
Remove the lower parking brake shoe strut.
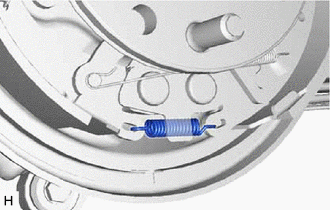
Remove the shoe tension spring.
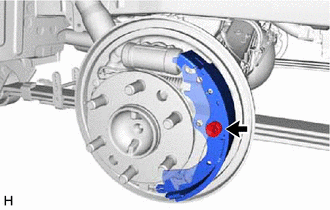
Remove the shoe hold down spring cup, shoe hold down spring, shoe hold down spring pin and brake shoe (rear).
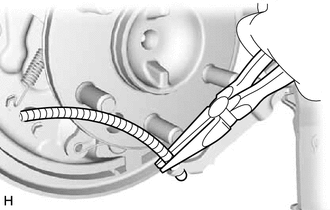
Using needle-nose pliers, separate the No. 3 parking brake cable assembly from the rear brake parking brake shoe lever sub-assembly.
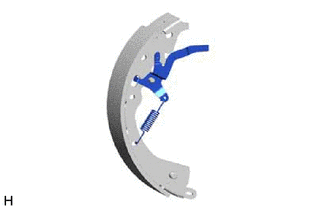
Remove the rear brake automatic adjust lever tension spring and rear brake automatic adjust lever.
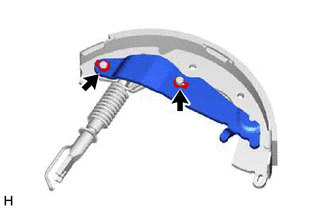
Using a screwdriver, remove the 2 C-washers and parking brake reaction lever.
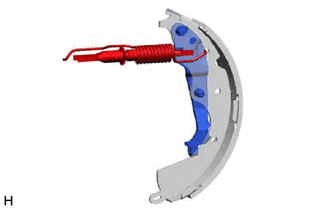
Remove the rear brake strut kit and rear brake parking brake shoe lever sub-assembly from the brake shoe (rear).